Feature— Etched Copper Talisman
At last, I am attempting to make some kind of blog to let you all take a more detailed look at what goes into making art! This first post is a feature showing a little bit of what goes into making the Copper Etched Talismans recently introduced to my body of work. Listen, we all know my process up until now hasn’t been “capture each step” style, but we are going to learn and work on that! You can expect more detailed pictures in the future, but this is a start!
So let’s get into it!
The first application of this sort of shape and idea came from working with The Kaiser Institute, a place where most of our ideas formed become staples for my art practice! We wanted to create something that represented a person’s journey up until the moment, as well as hopes, dreams, and intentions for the journey ahead. Those two things are what influenced the two pieces and the shape they hold. After we had that idea, the part of making it a reality had to happen.
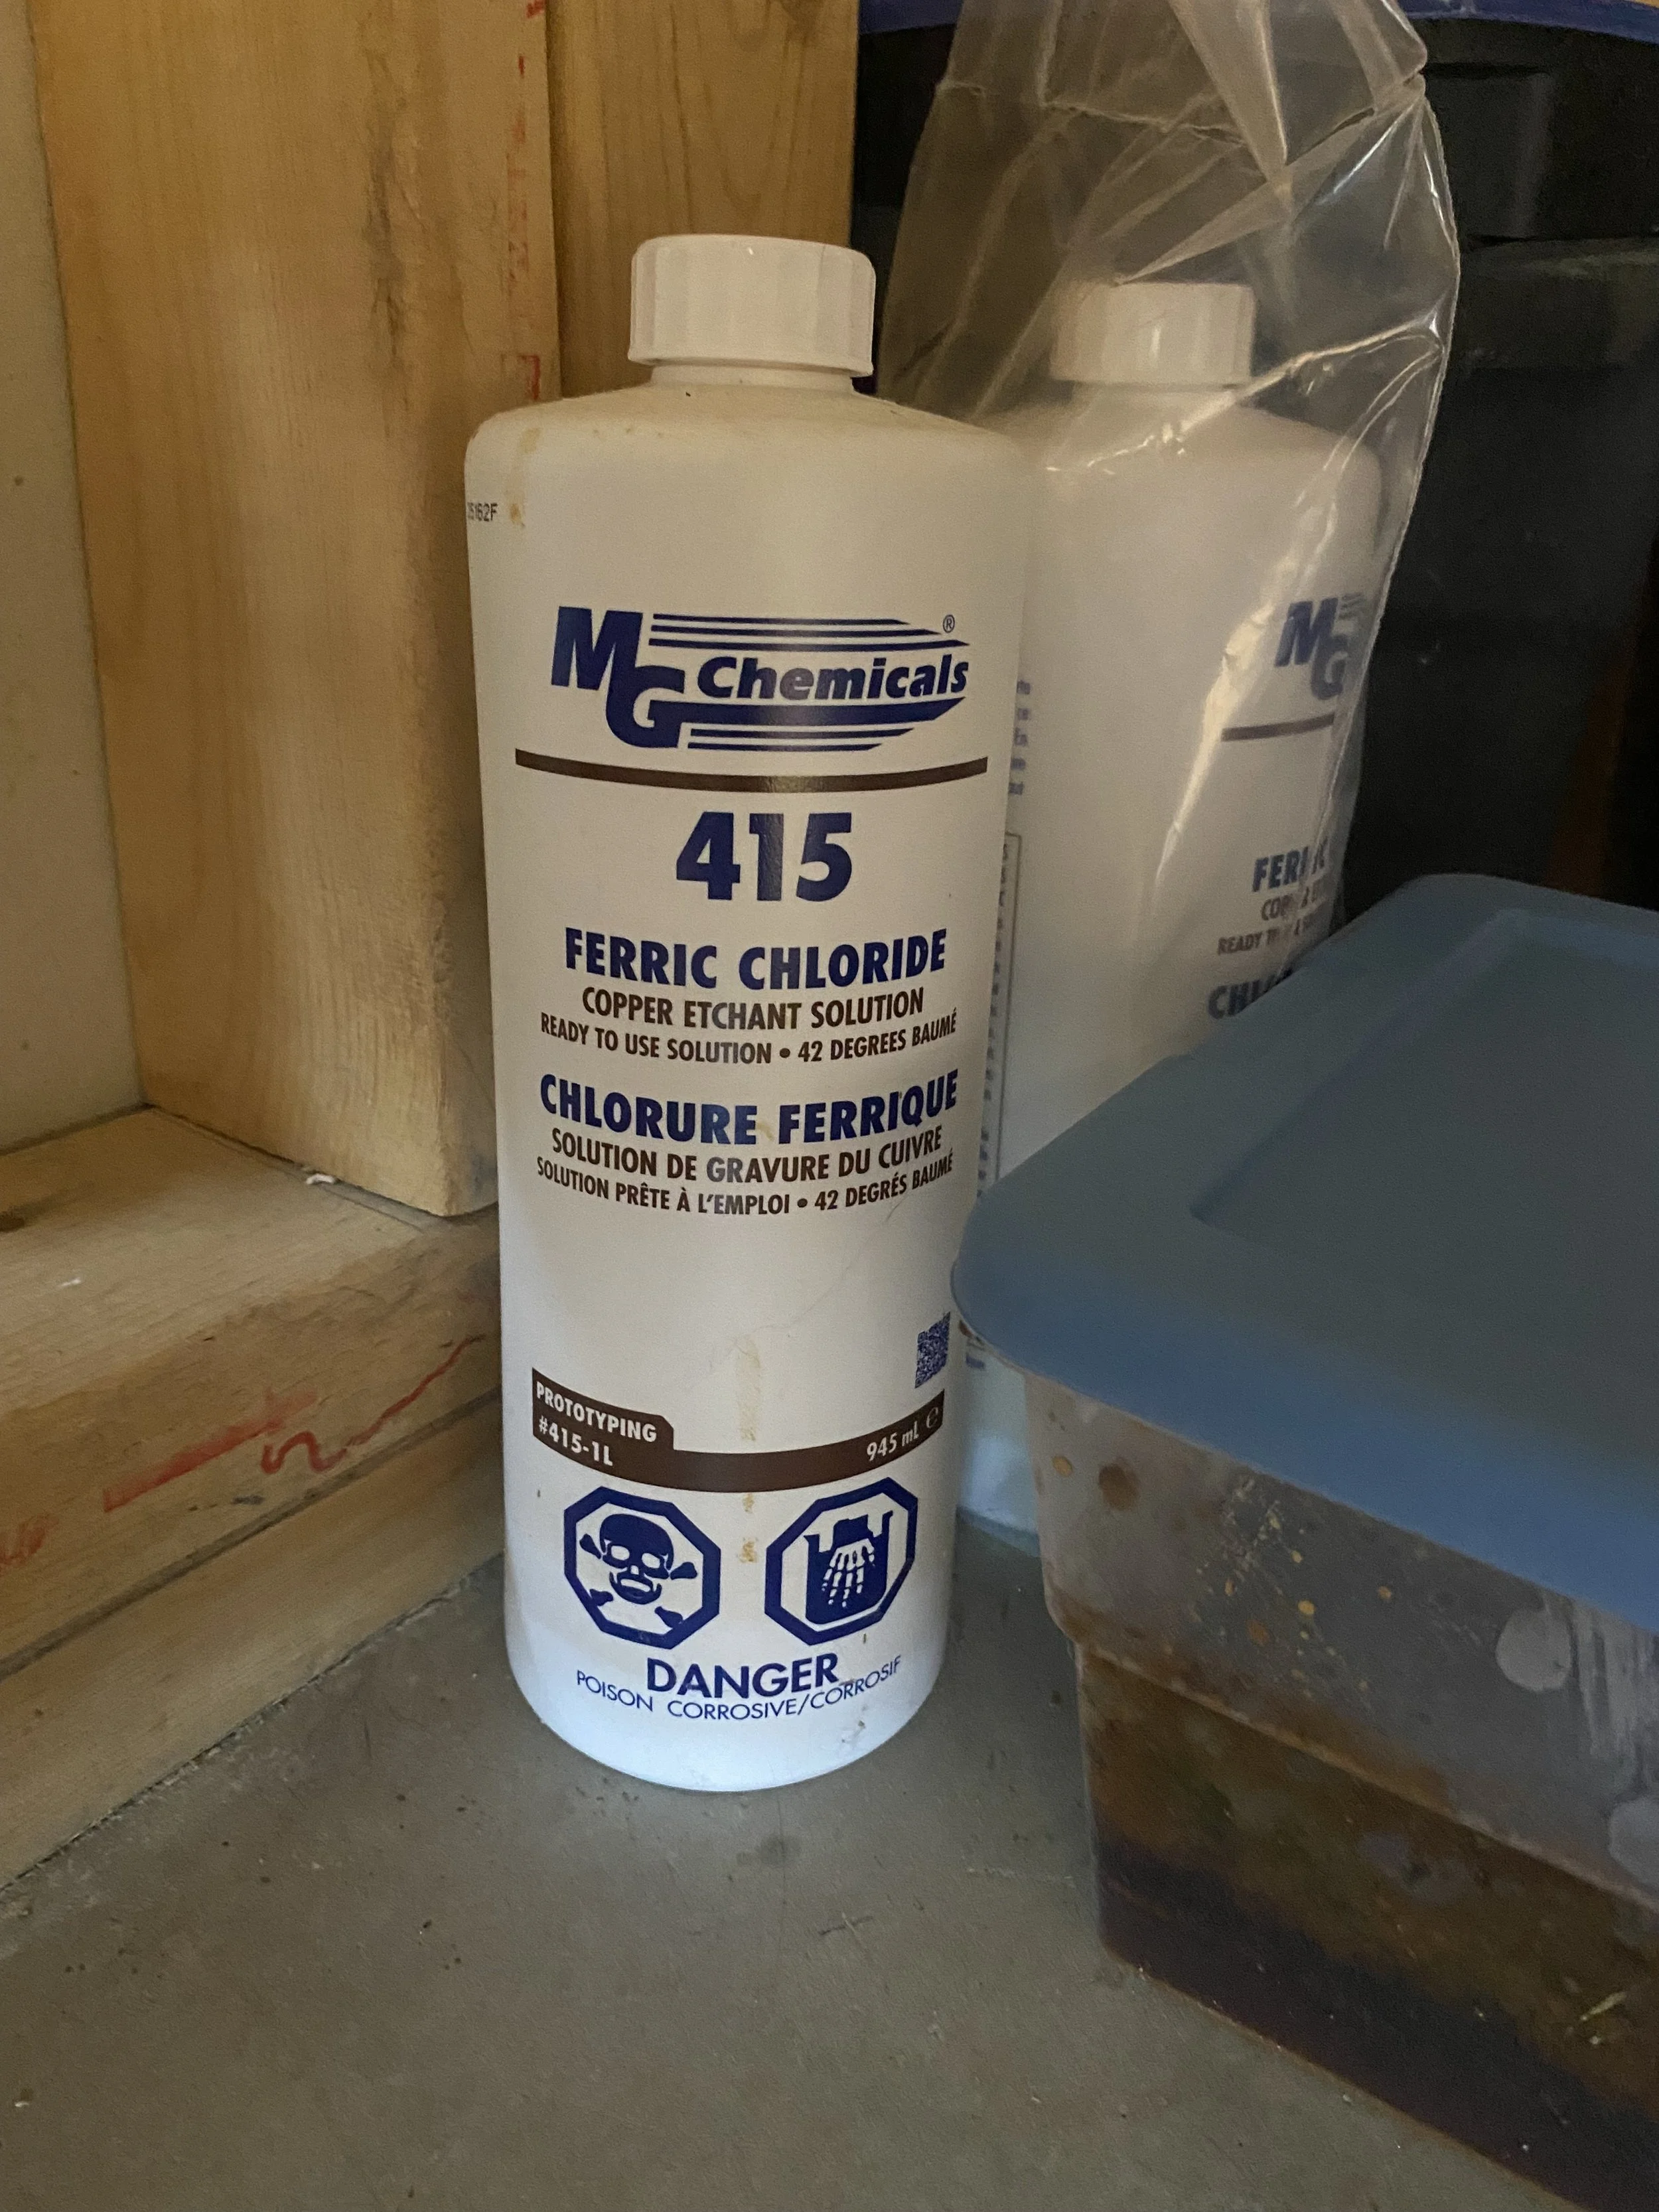
Ferric Chloride and a tub of said liqud after the process is complete. Use with appropriate PPE and always review how to safely dispose of.
I ended up looking into acid etching for a variety of reasons, most of them being an intersection of accessibility, variations in toxicity/disposal, and how well details transferred with the minimal number of steps. Ferric chloride is a form of acid that is basically just a very salty salt, so with household baking soda it was easy to neutralize and dispose of compared to more serious and caustic options. The only possible downside would be that I would be limited to copper, as a stronger acid would be needed to etch harder metal.
With all that decided, I then got to explore different kinds of ‘resist’ to transfer my design on. Surprisingly, Sharpie turned out to be the absolute best option! A Magical marker indeed.
After coming up with the design, shaping, prepping the surface, and transferring the design onto the copper, it’s ready to go into the bath!
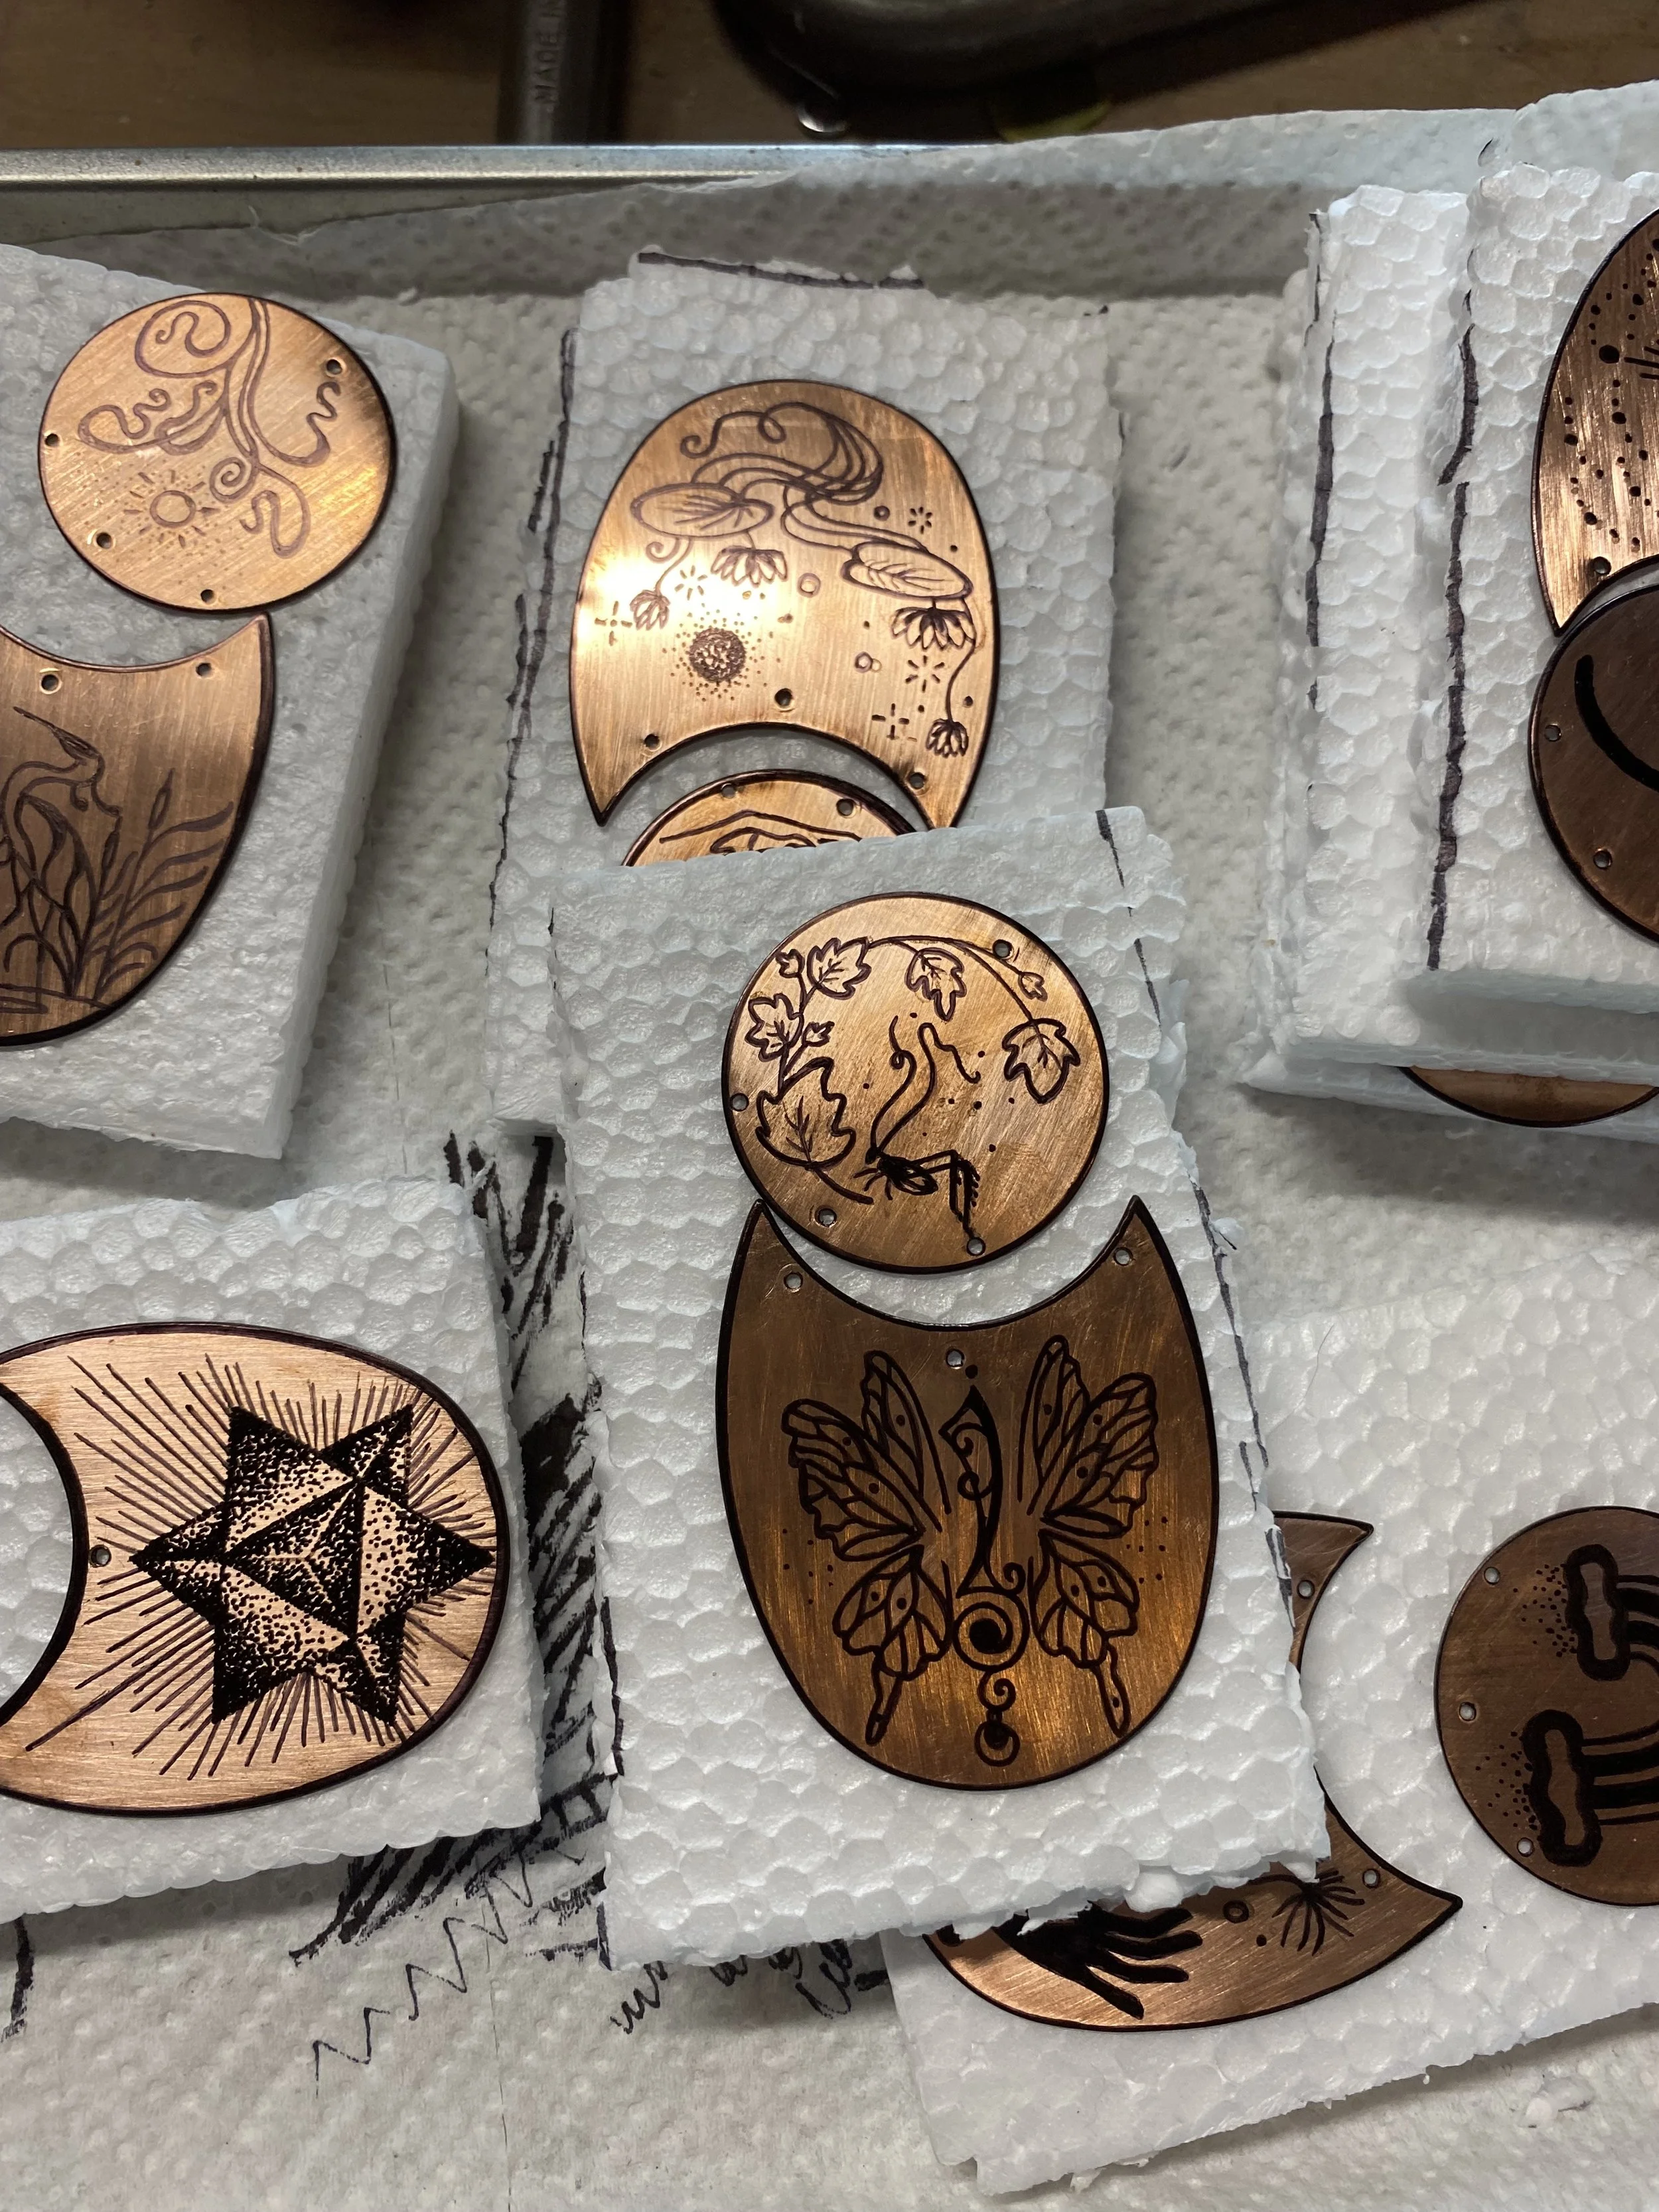
Sharpied pieces on taped on their styrofoam floats, just before going into the acid bath. Be careful! any exposed metal will get eaten away at by the acid. The floatie helps keep the piece on the surface of the acid and slightly more protected.
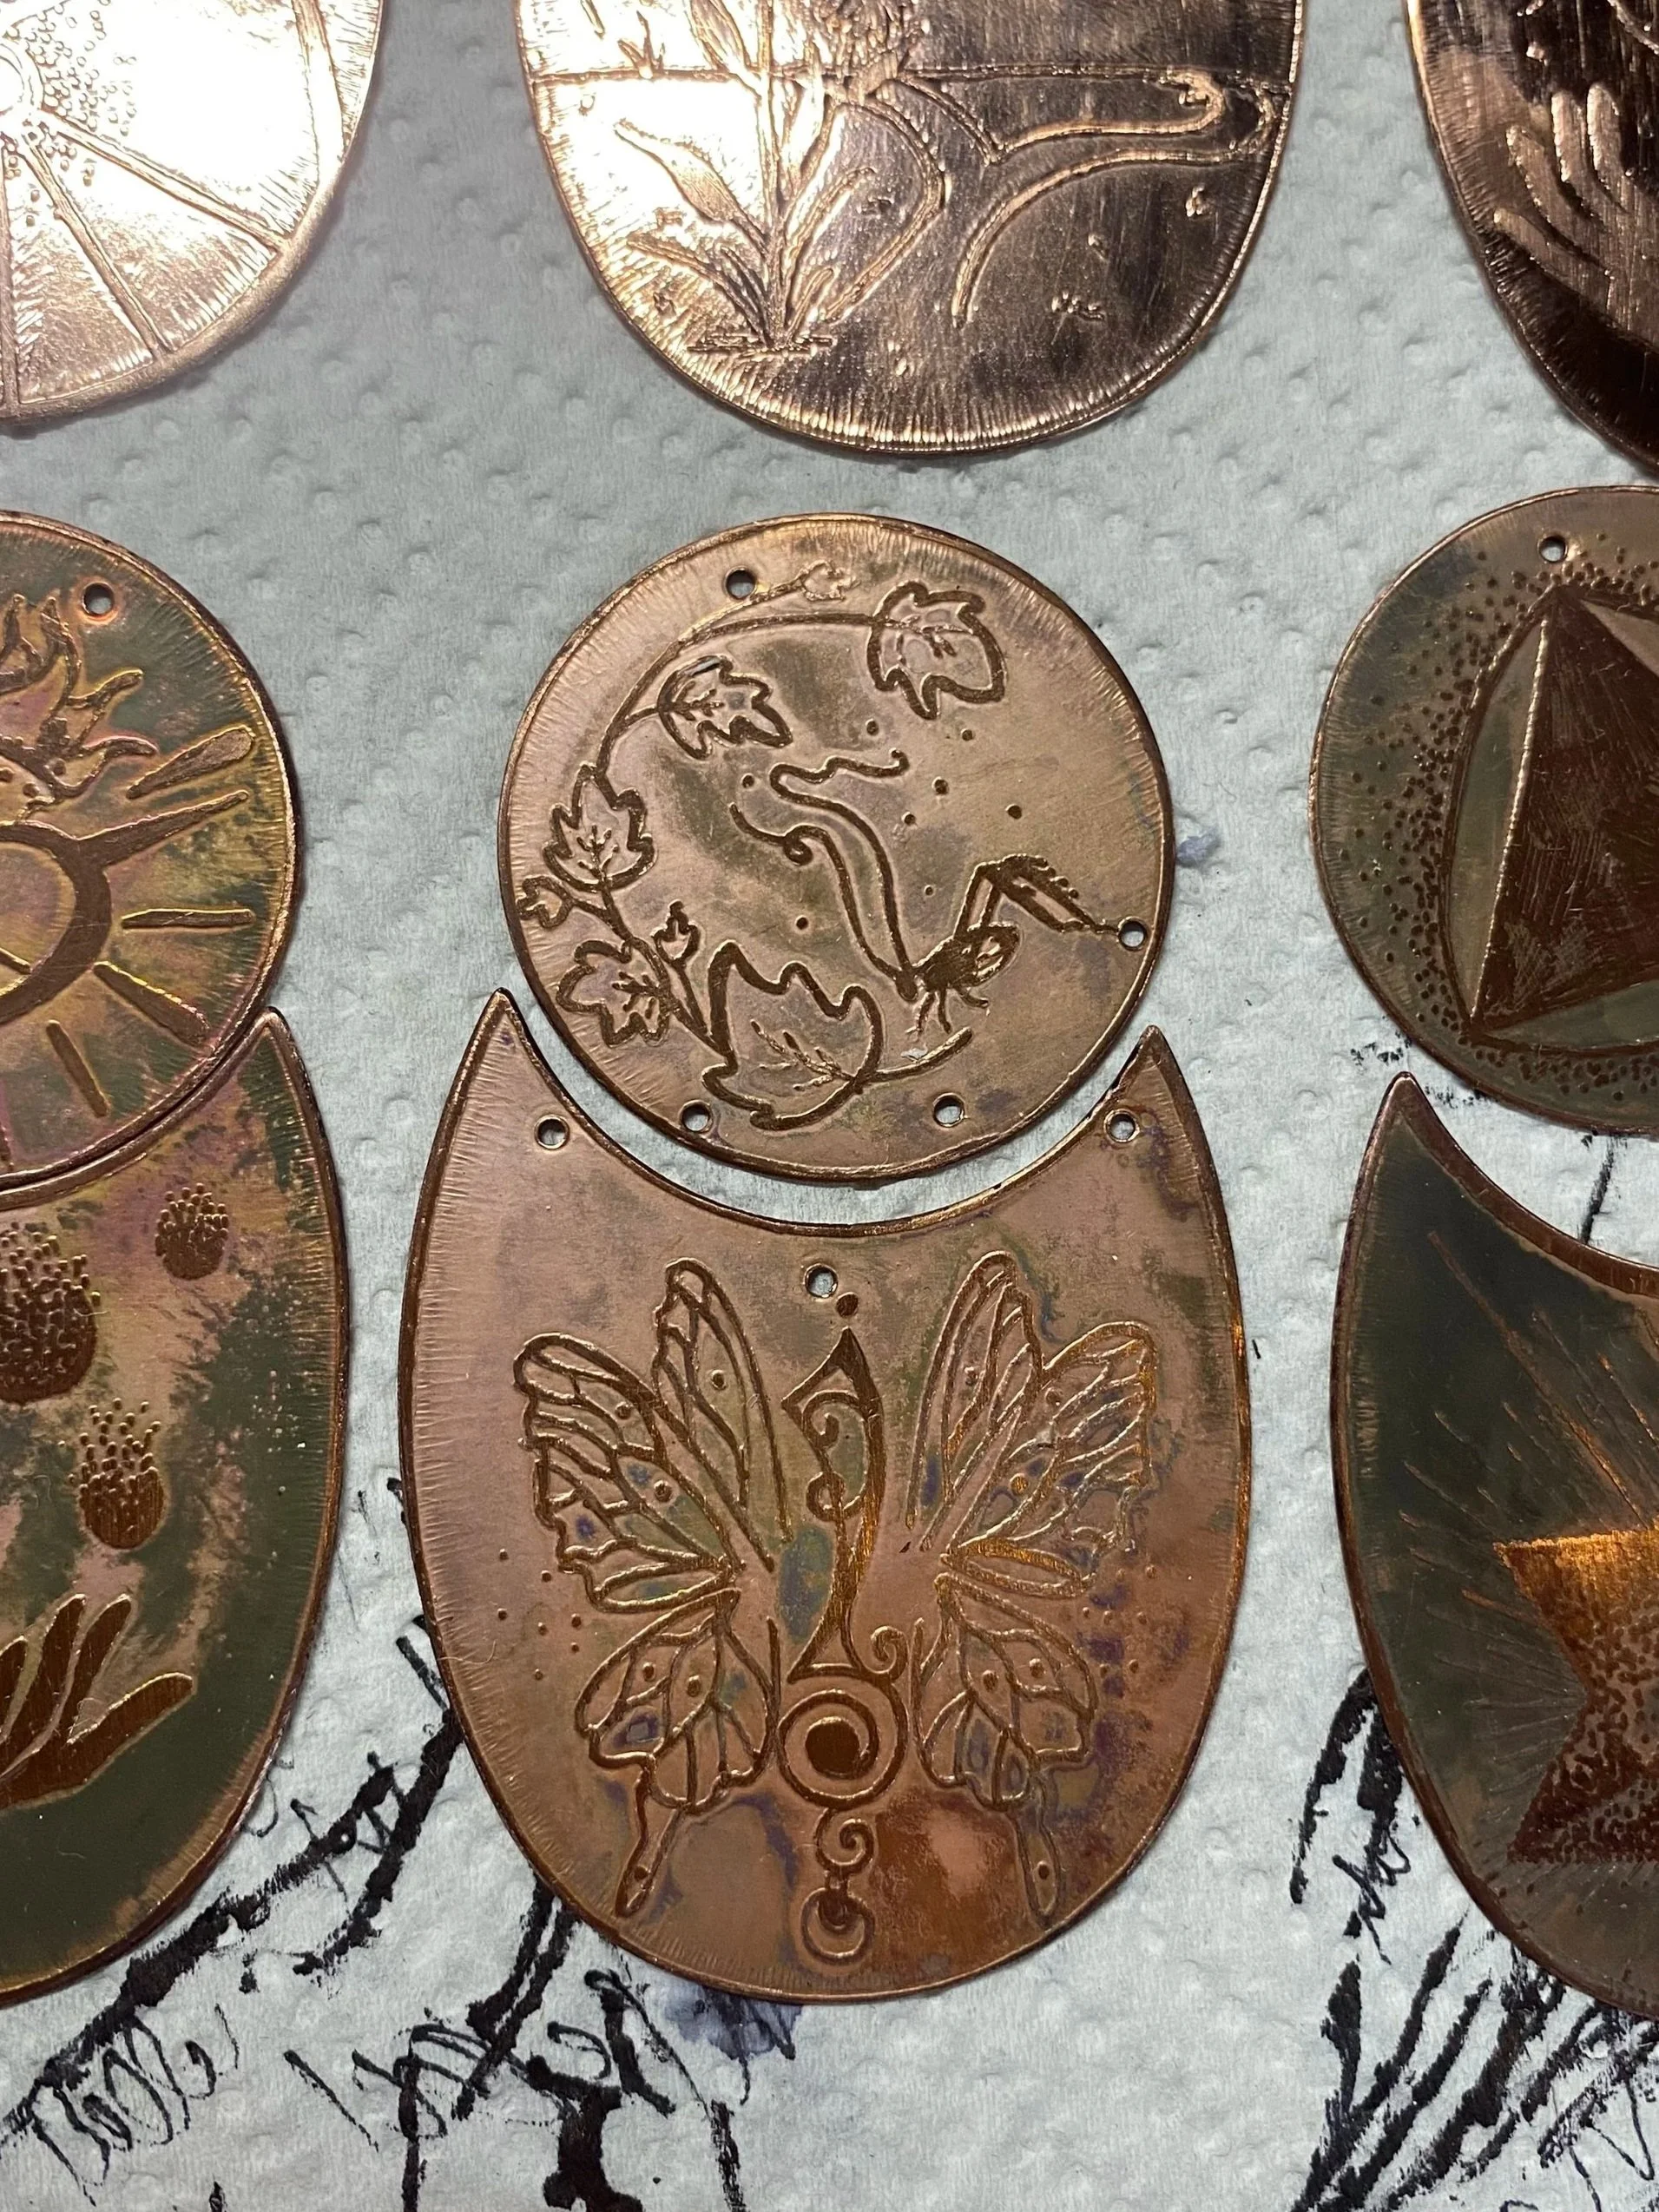
Out of the bath! I used some isopropyl alcohol to remove the sharpie. Timing is key, more time in the bath means deeper lines, but too long and the acid will start to eat away at the design! Now to polish them up and assemble the pieces.
Finished Product
After several more steps that I have skipped describing, the piece is assembled and ready! Ta da!
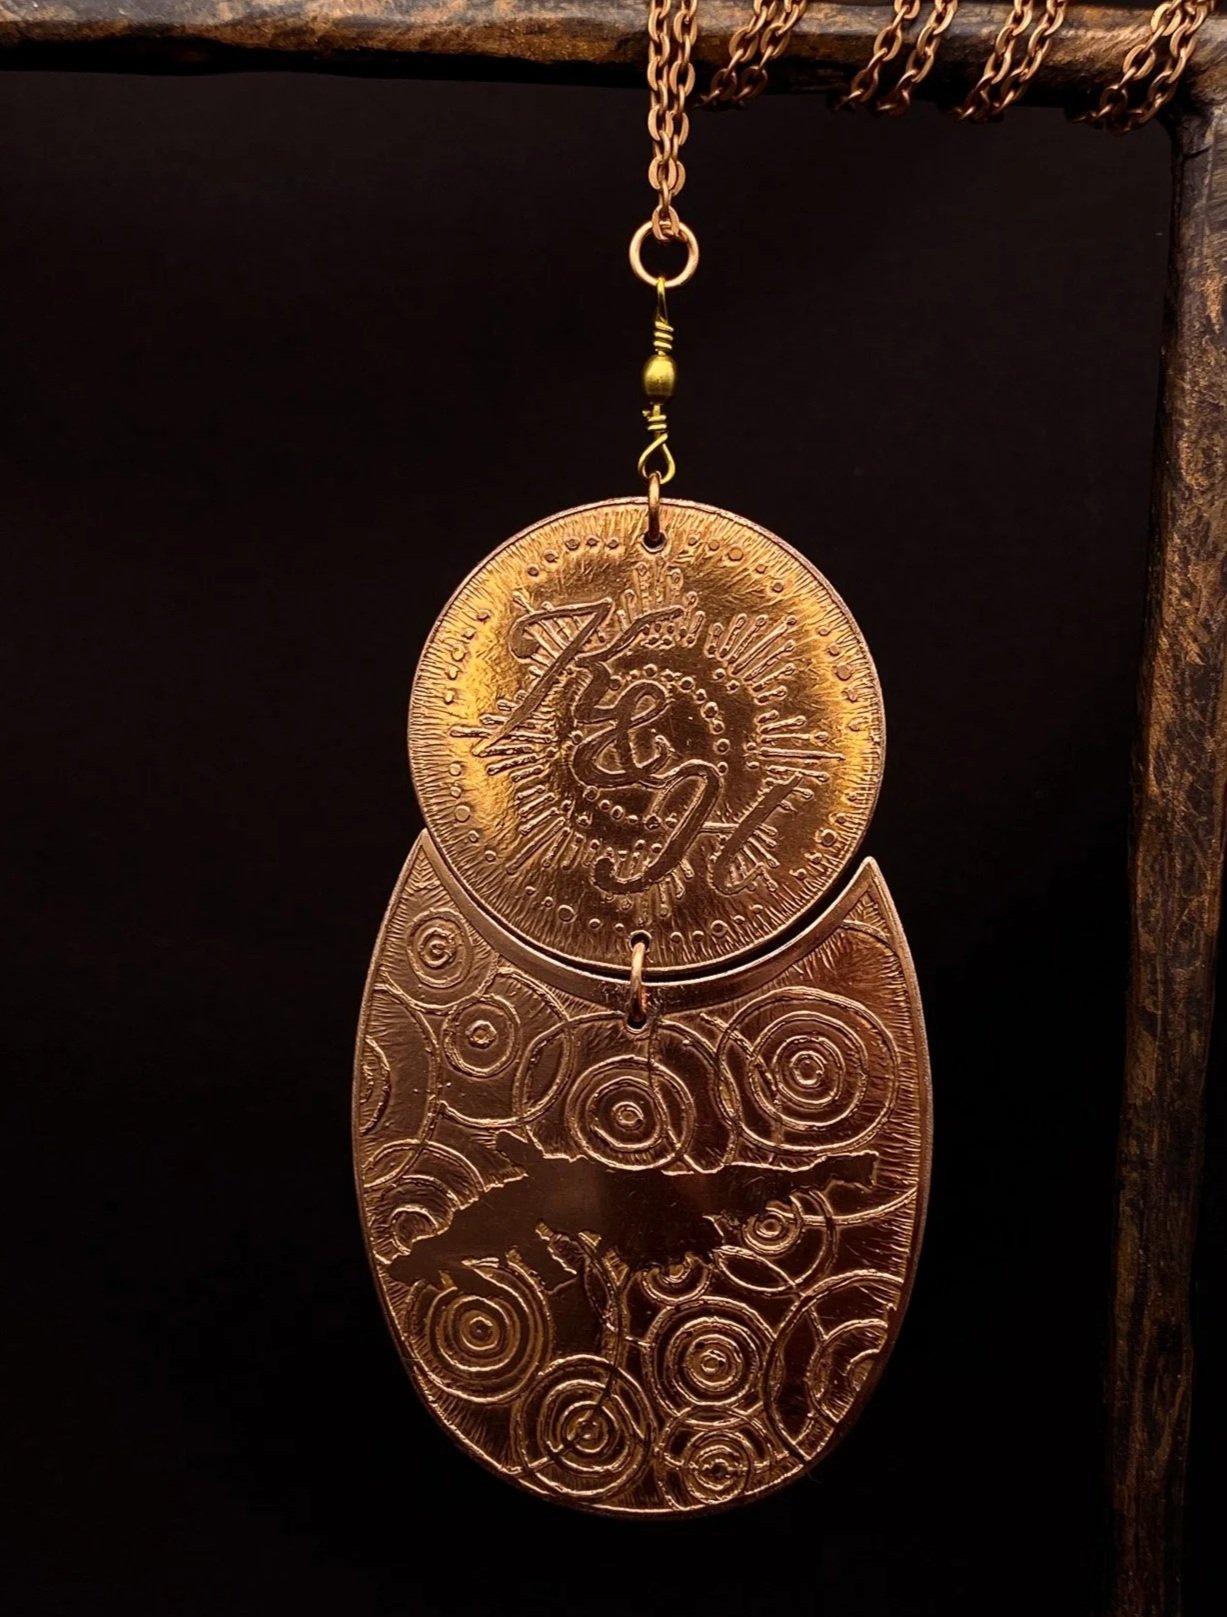
This particular piece has the couple’s initials in the top portions, and the bottom portion is the lake they went on their first official date at surrounded by ripples meant to symbolize their love rippling outward and the effect it will have in places they could have never imaged.